
What shapes the estimate
Start with a feasibility question
The first curbless question is not about tile or glass. It is whether the floor beneath your bathroom can be shaped so the shower sits lower than the room. Without that drop, water has no reason to stay inside. Everything else in the plan follows from how much drop is available and how it is created.
Write down what you know: whether the house is on a concrete slab or a raised floor, where the current shower or tub drain is, and whether the bathroom floor is being replaced. Those facts let a contractor tell you quickly which approaches deserve a closer look.
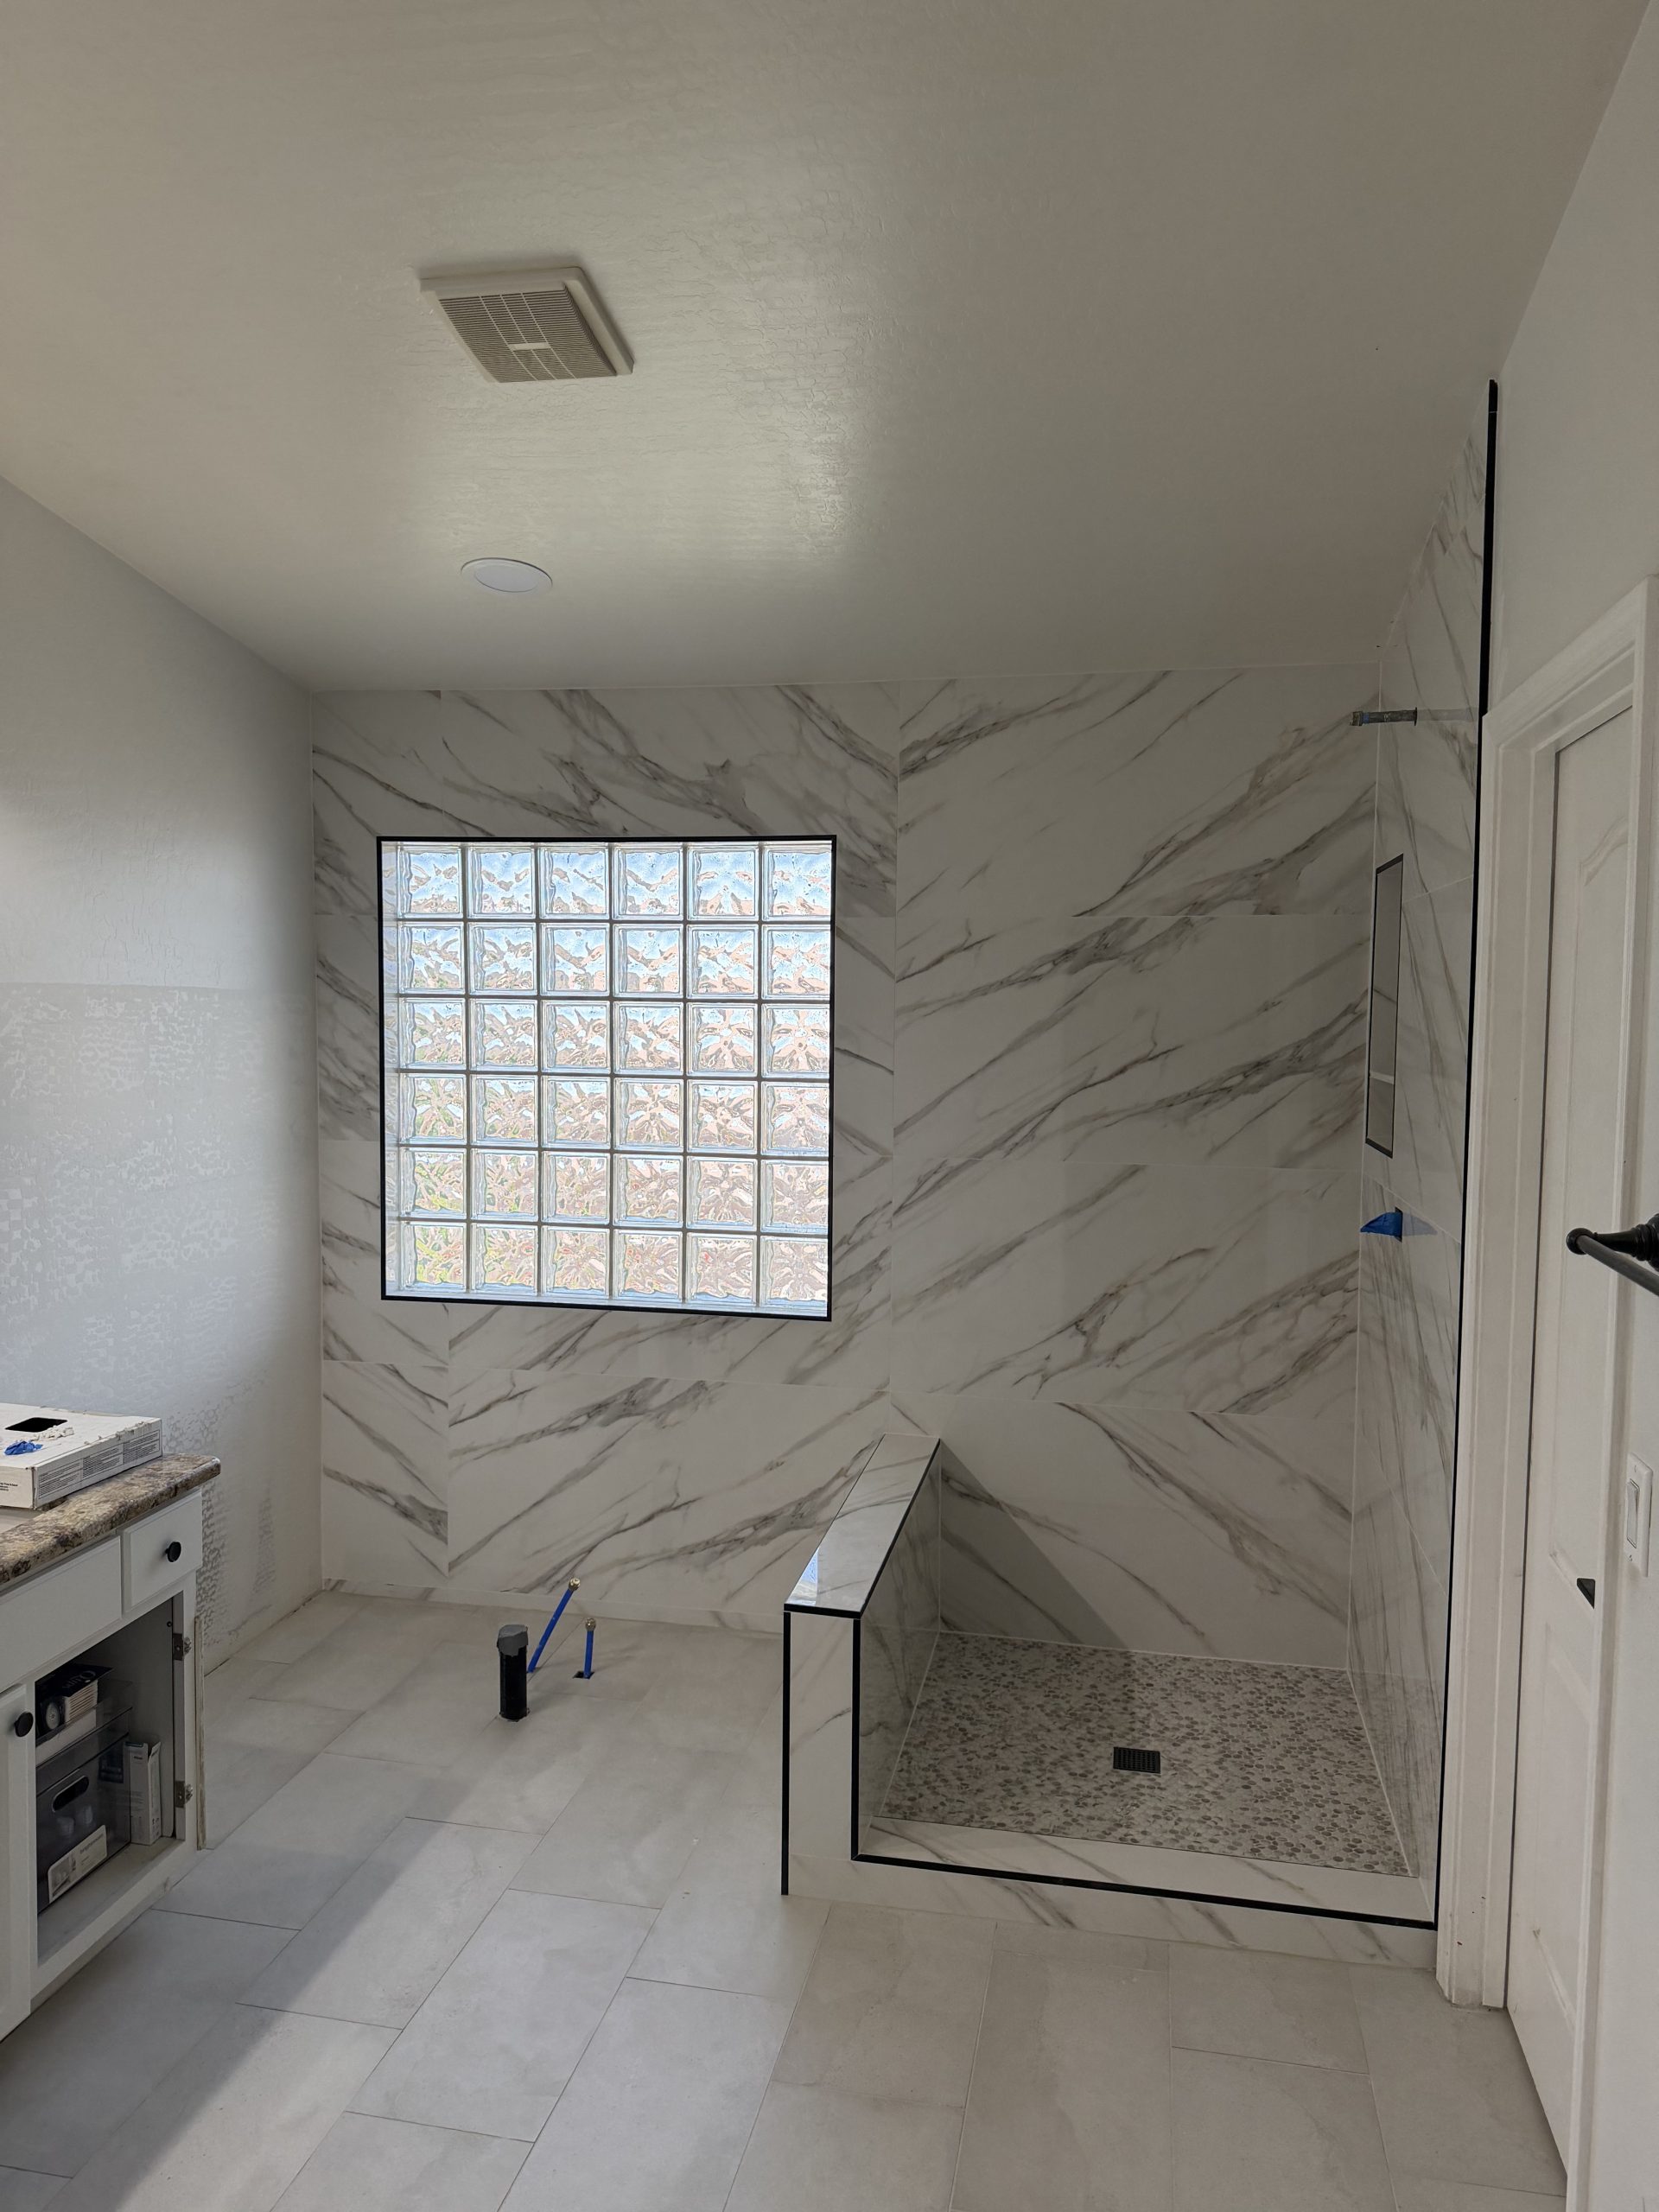
Recess the slab or raise the room
On a slab, there are two general routes. Recessing lowers the shower area into the slab, keeping the bathroom floor at its current height. Raising the bathroom floor keeps the slab intact but changes heights at the doorway, toilet, and vanity. A recessed slab is structural and plumbing work and should be assessed by the appropriate professionals before it is planned.
Raising the room floor can be simpler when the entire bathroom floor is being replaced anyway, but the transition at the bathroom door must still be resolved.
Plan the slope from the drain outward
Every point on a curbless shower floor must fall toward the drain, including the entry. The longer the distance from the farthest point to the drain, the more total drop is needed. That is why large curbless showers usually need more recess. Sketch the shower with the drain marked, then ask how the floor will slope from the entry to that drain.
The transition from the flat bathroom floor to the sloped shower floor should be gentle underfoot and land on a tile joint.
Choose a drain type and location
Linear drains suit curbless showers because they allow a single plane slope and larger floor tile. At the back wall, they put the entry at the high point. At the entry, they catch water before it leaves the shower but add a visible line at the threshold. Center drains work with mosaics but make a flush entry harder to slope. Drain location and connection are confirmed with a licensed plumber.
Waterproofing beyond the shower
Because there is no curb to stop splash, the waterproofing membrane should extend beyond the opening onto the bathroom floor. Walls, floor, bench, niche, and drain must connect as one system with treated seams and corners. Ask how the membrane continues past the entry and how it ties into the drain flange.
Glass usually mounts directly to the floor and wall. Plan backing locations and panel length relative to the showerhead while walls are open.
Accessibility expectations
Curbless showers make entry easier, and blocking for grab bars and a seat can be added during construction. A curbless shower is not automatically compliant with any accessibility standard. If you need a specific standard met, bring that requirement and the right professional into planning from the start. Early input avoids rework once the floor is formed.
Choosing tile for a curbless floor
Floor tile in a curbless shower has two jobs: it must provide traction on a sloped wet surface and it must make the transition from bathroom to shower look intentional. Large tile running through both areas suits a linear drain. Mosaics inside the shower with larger tile outside suit a change of material at the transition. Either way, plan grout joints so the slope change lands on a joint rather than through a tile.
Ask for samples of the floor tile and test them wet. A surface that feels secure when dry can behave very differently with soap and water, and a curbless shower has no curb to grab or lean on while stepping in.
Request a curbless shower quote
Send photos of your bathroom floor and doorway, the current drain location, and the tile you are considering. Sons Marble & Tile, ROC 294160, will discuss feasibility and coordinate assessments for work beyond tile. Call 602-885-7438 any hour, any day, to request a quote.